Choosing the Right ESD Floor Tiles
When it comes to
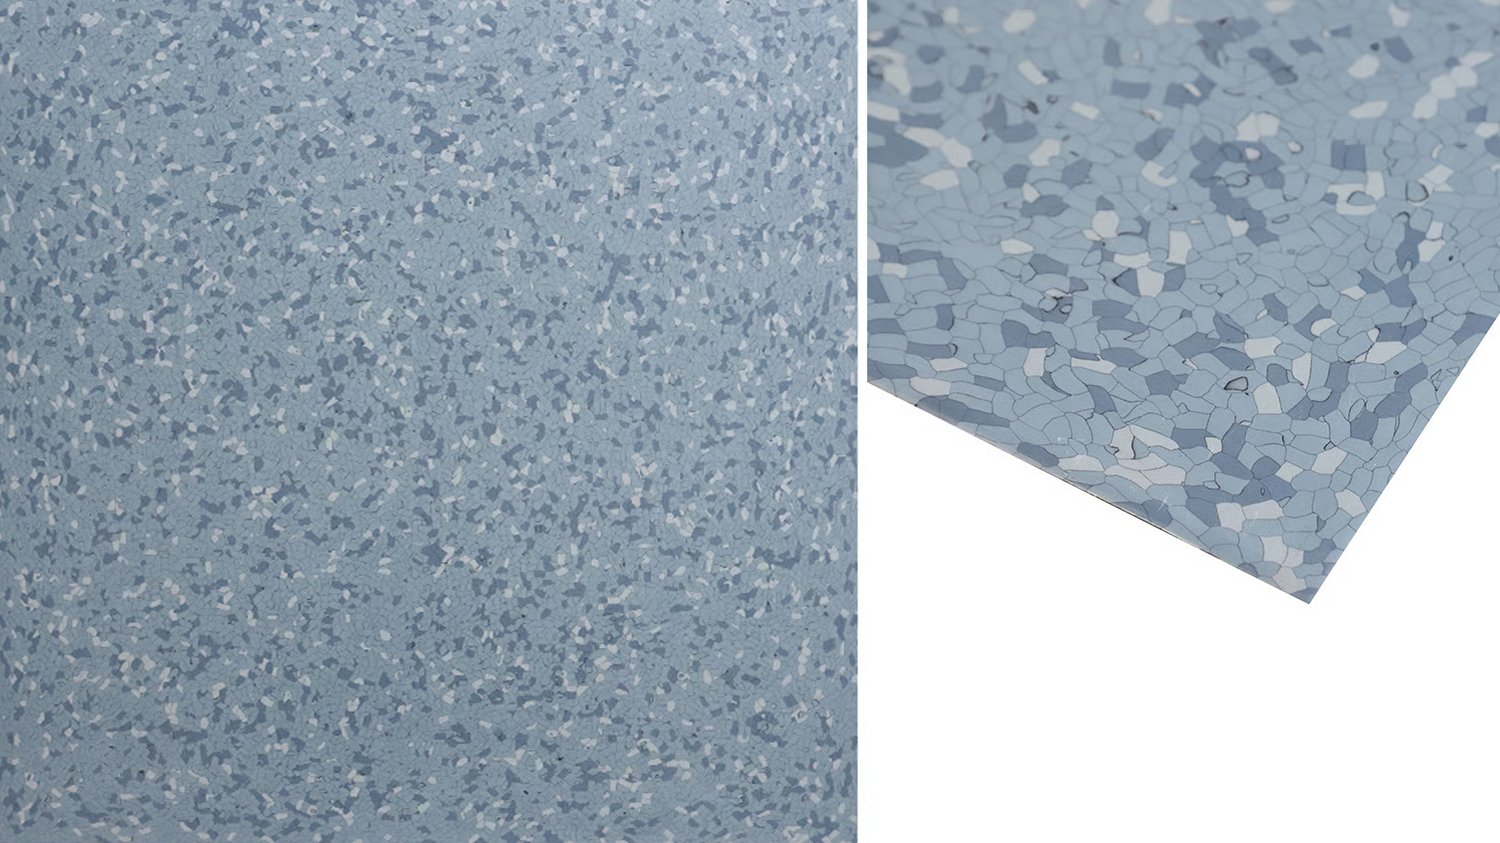
ESD floor tile installation techniques, the first step is to select the right type of ESD floor tiles. There are various options available in the market, including vinyl, carpet, and rubber tiles. It's important to choose tiles that meet industry standards for electrostatic discharge protection.
Preparing the Subfloor
Proper preparation of the subfloor is crucial for a successful ESD floor tile installation. Ensure that the subfloor is clean, dry, and level before starting the installation process. Any imperfections in the subfloor can affect the performance and longevity of the ESD floor tiles.
Creating a Layout Plan
Before installing ESD floor tiles, it's essential to create a layout plan to ensure a seamless and professional finish. Measure the area where the tiles will be installed and plan the layout accordingly. This will help minimize wastage and ensure a uniform appearance.
Adhering the Tiles
Adhering the ESD floor tiles to the subfloor is a critical step in the installation process. Use a suitable adhesive recommended by the manufacturer to ensure proper bonding. Follow the manufacturer's instructions for adhesive application and drying times.
Cutting Tiles to Fit
Inevitably, some ESD floor tiles will need to be cut to fit around corners or obstructions. Use a sharp utility knife or tile cutter to make precise cuts. Take accurate measurements and double-check before cutting to avoid costly mistakes.
Sealing the Joints
Once the ESD floor tiles are installed, it's important to seal the joints to prevent moisture and dirt from seeping in. Use a recommended sealant to ensure a watertight barrier. Properly sealed joints will also enhance the durability of the ESD floor tiles.
Allowing for Expansion Gaps
To prevent buckling or lifting of ESD floor tiles, it's crucial to leave expansion gaps along the perimeter of the installation. These gaps accommodate for thermal expansion and contraction, ensuring a stable and long-lasting floor surface.
Testing for ESD Protection
After the ESD floor tiles are installed, it's essential to conduct tests to ensure effective electrostatic discharge protection. Use an ESD tester to measure the resistance of the floor surface. If the resistance is within the acceptable range, the installation is successful.
Maintaining ESD Floor Tiles
Proper maintenance is key to prolonging the lifespan of ESD floor tiles. Regularly sweep or vacuum the floor surface to remove debris and dirt. Use a neutral pH cleaner to mop the floor periodically, avoiding harsh chemicals that can damage the tiles.
Professional Installation Services
For complex or large-scale ESD floor tile installations, consider hiring professional installation services. Experienced installers have the expertise and equipment to ensure a flawless and compliant installation. Professional services can save time and provide peace of mind.
Quote Inquiry
contact us