putting in vinyl flooring: A Comprehensive Guide
When it comes to home improvement, one of the most popular and versatile flooring options is vinyl. Vinyl flooring offers durability, affordability, and easy maintenance, making it a great choice for any room in your home. Whether you are a seasoned DIY enthusiast or a beginner looking to tackle your first flooring project, this comprehensive guide will provide you with all the information you need to successfully install vinyl flooring. Read on to discover the step-by-step process, tips, and tricks to ensure a professional-looking result.
1. Understanding Vinyl Flooring
Vinyl flooring is a synthetic flooring material that is made from a combination of polyvinyl chloride (PVC) and other additives. It is available in a wide range of colors, patterns, and styles, including tiles, planks, and sheets. Vinyl flooring is known for its durability, resistance to moisture, and ease of maintenance, making it a popular choice for high-traffic areas such as kitchens and bathrooms.
2. Preparing the Subfloor
Before you begin installing vinyl flooring, it is crucial to prepare the subfloor properly. The subfloor should be clean, level, and dry. Remove any existing flooring material, ensuring that the surface is smooth and free from debris. If the subfloor is uneven or has cracks, use a self-leveling compound or patching compound to create a smooth surface. Additionally, check for moisture issues and address them before proceeding with the installation.
3. Measuring and Planning
Prior to purchasing vinyl flooring, it is essential to measure the area accurately. Measure the length and width of the room and multiply the two measurements to determine the square footage. It is recommended to add an additional 10% to account for any mistakes or future repairs. Once you have the measurements, plan the layout of the flooring, considering the direction of the planks or tiles and any patterns you want to create.
4. Choosing the Right Vinyl Flooring
There are various types of vinyl flooring available in the market, so it is important to choose the one that suits your needs and preferences. Consider factors such as the type of vinyl (tiles, planks, or sheets), thickness, wear layer, and installation method. Tiles and planks are popular choices for DIY installations, while sheet vinyl is often recommended for larger areas. Additionally, consider the color, pattern, and texture of the vinyl to complement your overall interior design.
5. Acclimating the Vinyl Flooring
Once you have purchased the vinyl flooring, it is crucial to let it acclimate to the room's temperature and humidity levels. This step is important as it prevents the flooring from expanding or contracting after installation. Leave the vinyl flooring in its packaging in the room where it will be installed for at least 24 to 48 hours before installation.
6. Installing Vinyl Tiles
If you have chosen vinyl tiles for your flooring project, the installation process is relatively straightforward. Start by finding the center of the room and mark perpendicular guidelines. Apply adhesive to the subfloor using a trowel, and then begin placing the tiles along the guidelines. Press each tile firmly into place, ensuring they are aligned correctly. Use a roller to firmly press the tiles into the adhesive and remove any air bubbles.
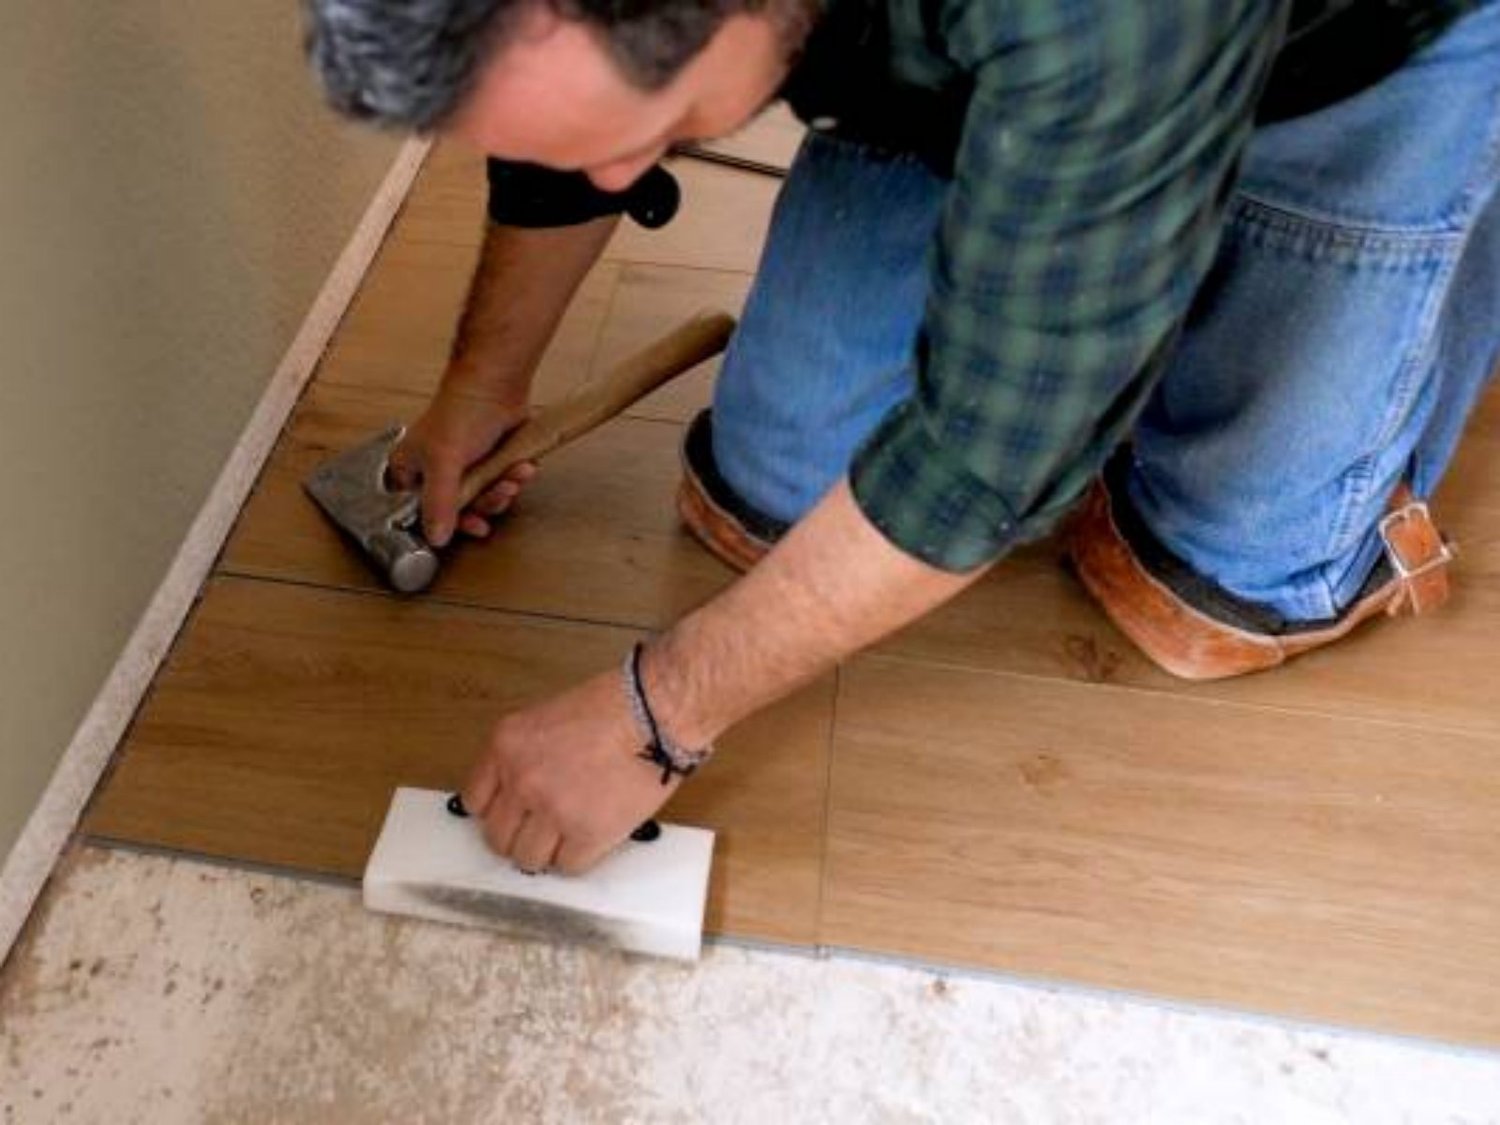
7. Installing Vinyl Planks
Vinyl planks are another popular option for DIY installations. The process involves interlocking the planks to create a floating floor. Begin by preparing the first row, ensuring that it is straight and parallel to the longest wall. Connect the planks by inserting the tongue of one plank into the groove of the previous plank. Use a tapping block and mallet to secure the planks together. Continue installing subsequent rows, ensuring they are staggered for a natural look.
8. Installing Sheet Vinyl
Installing sheet vinyl requires careful measurements and cutting to fit the room's dimensions. Start by rolling out the vinyl sheet and allowing it to rest flat for a few minutes. Trim the excess vinyl, leaving a few inches of overlap on all sides. Apply adhesive to the subfloor, following the manufacturer's instructions. Carefully place the vinyl sheet onto the adhesive, smoothing out any wrinkles or air bubbles. Use a floor roller to press the vinyl firmly into place.
9. Finishing Touches
After the vinyl flooring is installed, it's time to add the finishing touches. Install baseboards or quarter round molding to cover the expansion gap around the perimeter of the room. Use a miter saw to cut the molding to the desired length and secure it to the wall using finishing nails or adhesive. Additionally, clean the newly installed vinyl flooring with a mild cleaner recommended by the manufacturer to remove any residue or marks from the installation process.
10. Maintenance and Care
One of the advantages of vinyl flooring is its low maintenance requirements. To keep your vinyl flooring looking its best, sweep or vacuum regularly to remove dirt and debris. Wipe up spills immediately to prevent staining. Use a damp mop with a mild cleaner to clean the floor periodically. Avoid using harsh chemicals or abrasive cleaners that can damage the vinyl. With proper care, your vinyl flooring will maintain its beauty and durability for years to come.