The Ultimate Guide to the installation of lvt flooring
LVT flooring, also known as Luxury Vinyl Tile flooring, has gained immense popularity in recent years due to its durability, affordability, and aesthetic appeal. Whether you are planning to upgrade your home or office, understanding the installation process is crucial to ensure a flawless and long-lasting result. In this comprehensive guide, we will walk you through each step of the installation process, from preparation to finishing touches, to help you achieve a stunning LVT floor.
1. Preparing the Subfloor
Before you begin the installation of LVT flooring, it is essential to prepare the subfloor properly. The subfloor should be clean, dry, and level. Start by removing any existing flooring and thoroughly clean the subfloor to remove any dirt, debris, or adhesive residue. Check for any uneven areas or damages and repair them accordingly. A level subfloor ensures a smooth installation and prevents any future problems with the LVT flooring.
2. Acclimating the LVT Flooring
Acclimation is a crucial step to ensure the stability and longevity of your LVT flooring. Open the boxes of LVT flooring and let them sit in the installation area for at least 48 hours. This allows the flooring to adjust to the temperature and humidity of the room, minimizing the risk of expansion or contraction after installation. Proper acclimation is particularly important if you live in an area with extreme temperature variations.
3. Planning the Layout
Before you start installing the LVT flooring, plan the layout to ensure a visually appealing result. Begin by finding the center point of the room and snap chalk lines in both directions to create a grid. This will help you determine the best starting point and ensure symmetry in the room. Consider the flow of natural light and the placement of furniture when planning the layout. It is also recommended to dry-fit the LVT planks or tiles to visualize the final design.
4. Applying the Adhesive
Once the layout is planned, it's time to apply the adhesive. Follow the manufacturer's instructions and use a trowel to spread the adhesive evenly on the subfloor. Work in small sections to prevent the adhesive from drying before the LVT flooring is installed. Avoid applying excessive adhesive, as it can seep through the seams and create visible marks on the surface. Also, ensure that the adhesive is suitable for LVT flooring to guarantee a secure bond.
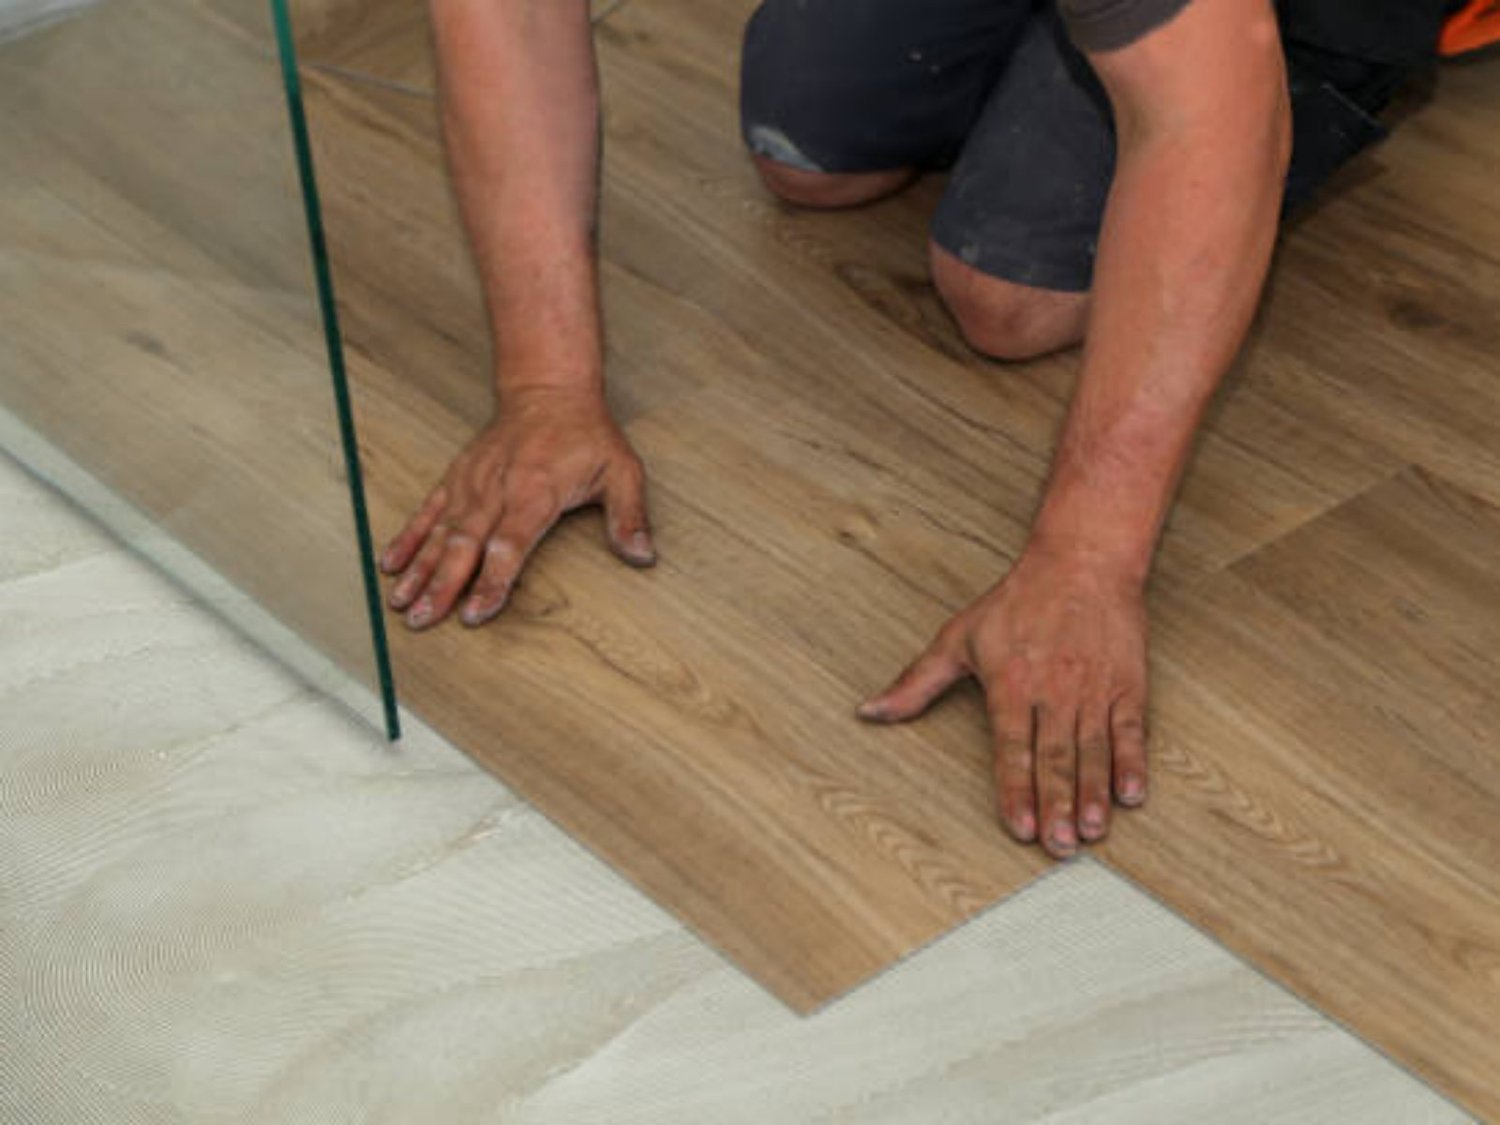
5. Installing the LVT Flooring
With the adhesive in place, it's time to start installing the LVT flooring. Begin at the center of the room and work your way outwards. Align the first plank or tile with the chalk lines and press it firmly into the adhesive. Use a rubber mallet or a tapping block to ensure a tight fit. Continue installing the remaining planks or tiles, staggering the joints for a natural appearance. Trim the last piece to fit if necessary. Take your time to ensure each piece is properly aligned and securely bonded to the subfloor.
6. Dealing with Obstacles
During the installation process, you may encounter obstacles such as doorways, vents, or irregular shapes. To work around these obstacles, measure and mark the area on the LVT flooring, and use a jigsaw or utility knife to make precise cuts. Take extra care to ensure a seamless transition between the LVT flooring and other surfaces, such as carpet or hardwood. Properly addressing obstacles will result in a professional-looking installation.
7. Finishing Touches
After the LVT flooring is installed, it's time to add the finishing touches. Install baseboards or quarter round molding to cover the expansion gap and create a polished look. Use a color-matched caulk to fill any gaps between the flooring and walls. Clean the surface of the LVT flooring with a manufacturer-approved cleaner to remove any adhesive residue or dirt. Finally, step back and admire your newly installed LVT floor.
8. Maintaining LVT Flooring
To ensure your LVT flooring remains in pristine condition, it is essential to follow proper maintenance practices. Regularly sweep or vacuum the floor to remove dirt and debris. Use a damp mop with a mild cleaner specifically designed for LVT flooring to remove any stains or spills. Avoid using harsh chemicals or abrasive cleaners, as they can damage the surface. Additionally, consider using furniture pads to prevent scratches and place doormats at entryways to minimize dirt and moisture.
9. Benefits of LVT Flooring
LVT flooring offers numerous benefits that make it a popular choice among homeowners and business owners. Its durability makes it resistant to scratches, dents, and stains, making it ideal for high-traffic areas. It is also water-resistant, making it suitable for areas prone to moisture, such as kitchens and bathrooms. Furthermore, LVT flooring is available in a wide range of styles, colors, and patterns, allowing you to achieve the desired aesthetic for your space.
10. Professional Installation vs. DIY
While LVT flooring installation can be a DIY project for those with some experience, hiring a professional can ensure a flawless result. Professionals have the expertise, tools, and knowledge to handle any challenges that may arise during the installation process. Additionally, they can help you choose the right type of LVT flooring and provide valuable advice on maintenance and care. Consider your skill level, time constraints, and budget when deciding between professional installation and a DIY approach.