How to Install WPC Wooden Flooring: A Step-by-Step Guide
Installing WPC wooden flooring can transform the look and feel of any space. Whether you are a seasoned DIY enthusiast or a novice, this step-by-step guide will help you navigate the installation process with ease. From preparing the subfloor to laying down the last plank, we will cover everything you need to know to achieve a professional-looking result. Let's get started!
1. Preparing the Subfloor
Before you begin installing WPC wooden flooring, it is crucial to prepare the subfloor properly. Start by ensuring that the subfloor is clean, dry, and level. Remove any existing flooring and check for any imperfections or unevenness. Use a self-leveling compound to correct any uneven areas and allow it to dry completely. Remember, a well-prepared subfloor is the foundation for a successful installation.
2. Acclimating the WPC Wooden Flooring
WPC wooden flooring is sensitive to changes in temperature and humidity. To prevent any issues down the line, it is essential to acclimate the flooring before installation. Open the boxes of flooring and let them sit in the room where they will be installed for at least 48 hours. This will allow the planks to adjust to the temperature and humidity of the space.
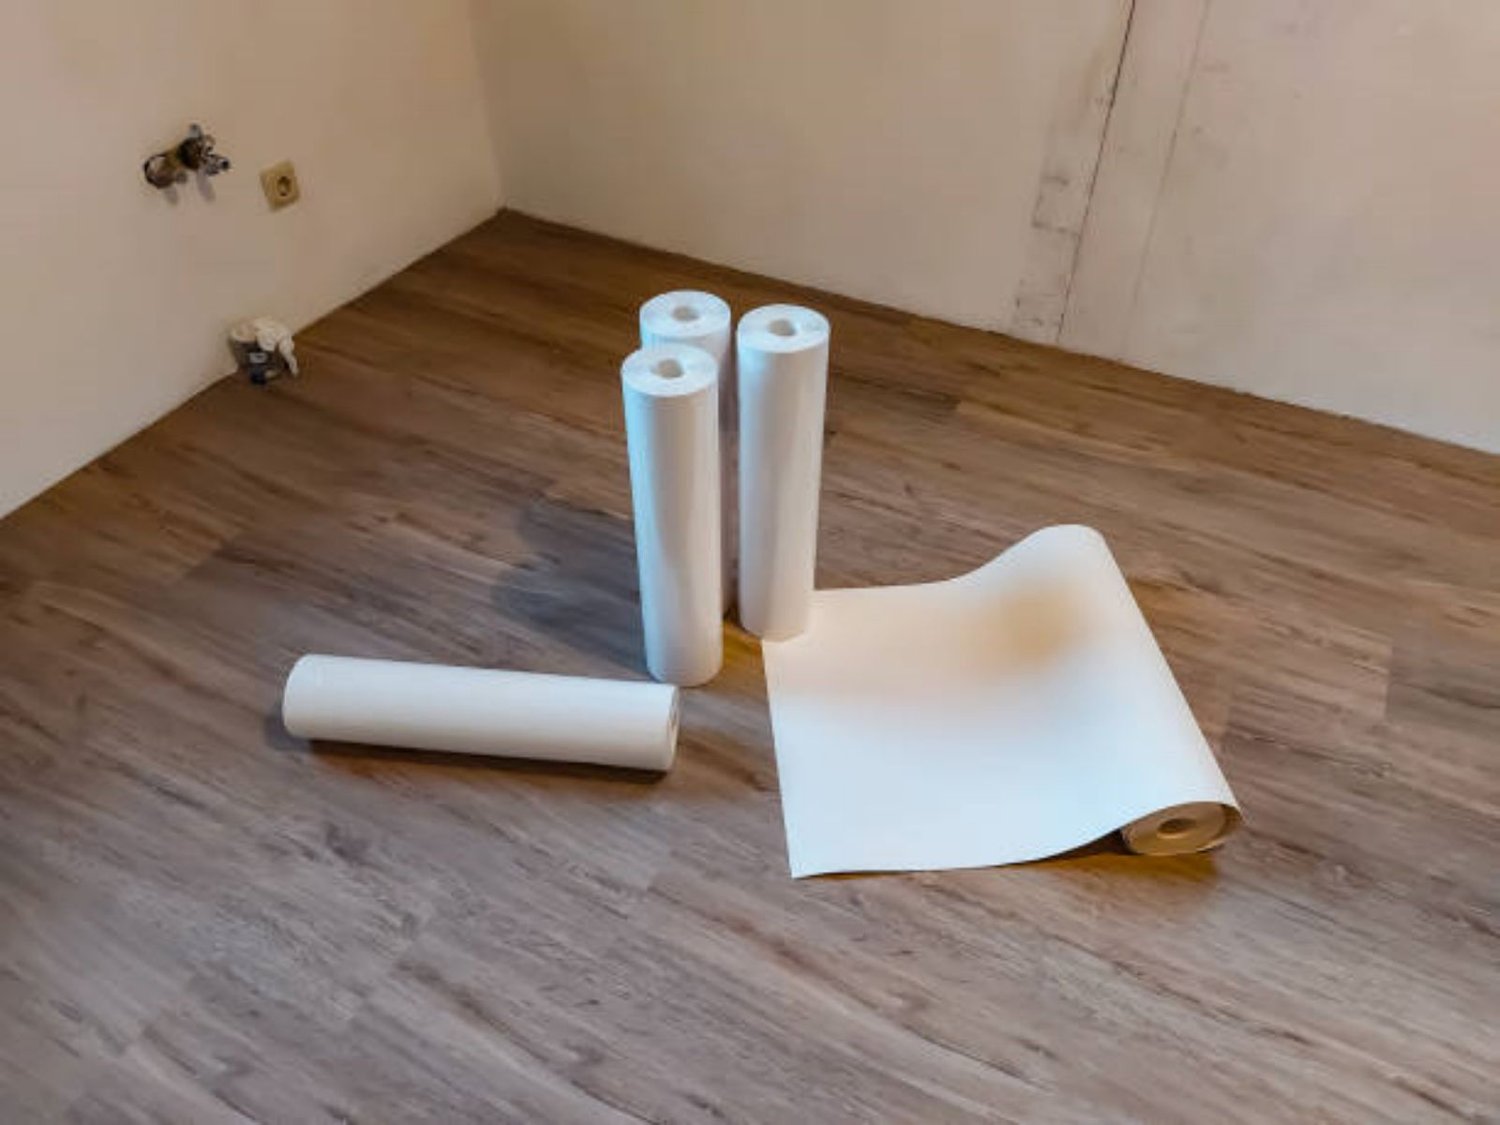
3. Installing the Underlayment
An underlayment provides an additional layer of cushioning and helps reduce noise. Begin by rolling out the underlayment across the entire subfloor, ensuring that it covers the entire area. Trim any excess underlayment with a utility knife. Take care not to overlap the underlayment as this can cause unevenness in the flooring. Secure the underlayment in place using tape or adhesive as recommended by the manufacturer.
4. Measuring and Planning
Proper planning is key to a successful installation. Start by measuring the length and width of the room to determine the square footage. This will help you determine the amount of flooring you need to purchase. Consider the direction of the planks and plan the layout accordingly. Depending on the size and shape of the room, you may need to cut some planks to fit. It is advisable to start the installation from the longest, straightest wall for a visually pleasing result.
5. Installing the First Row
Begin by laying down the first row of WPC wooden flooring along the starting wall. Leave a small gap, about 1/4 inch, between the wall and the planks to allow for expansion. Use spacers to maintain an even gap between the planks. Connect the planks by inserting the tongue of one plank into the groove of the previous plank. Use a tapping block and rubber mallet to ensure a tight fit. Continue installing the first row, making sure it remains straight and level.
6. Installing the Remaining Rows
Once the first row is in place, continue installing the remaining rows of WPC wooden flooring. Stagger the seams by starting each row with a plank cut to a different length than the previous row. This will ensure a visually appealing and structurally sound installation. Use a tapping block and rubber mallet to fit the planks together securely. Remember to maintain the recommended expansion gap along the walls and between the planks.
7. Cutting and Fitting the Planks
At some point during the installation, you may need to cut and fit the planks to accommodate corners, doorways, or other obstacles. Measure the space carefully and mark the plank accordingly. Use a jigsaw or a miter saw to make precise cuts. Always wear appropriate safety gear and take your time to ensure accurate cuts. Fit the cut planks into place, ensuring a snug fit and maintaining the recommended expansion gap.
8. Installing Transition Pieces
Transition pieces are used to create a smooth transition between different types of flooring or between rooms. Measure and cut the transition pieces to the desired length. Install them using adhesive or screws, depending on the manufacturer's instructions. Take care to align the transition pieces with the flooring and ensure a secure fit. This will add a professional finishing touch to your installation.
9. Finishing Touches
Once all the planks and transition pieces are in place, it's time for the finishing touches. Carefully inspect the entire installation for any visible gaps or imperfections. Use a touch-up kit or color-matched caulk to fill in any small gaps or nail holes. Clean the flooring thoroughly to remove any dust or debris. Finally, install baseboards or shoe moldings to cover the expansion gap and complete the look.
10. Regular Maintenance
To keep your WPC wooden flooring looking its best, regular maintenance is essential. Sweep or vacuum the floor regularly to remove dirt and debris. Clean up spills immediately to prevent staining or damage. Avoid using harsh chemicals or abrasive cleaners, as these can dull the finish. Instead, use a manufacturer-approved cleaner and a damp mop to keep the flooring clean and shiny.